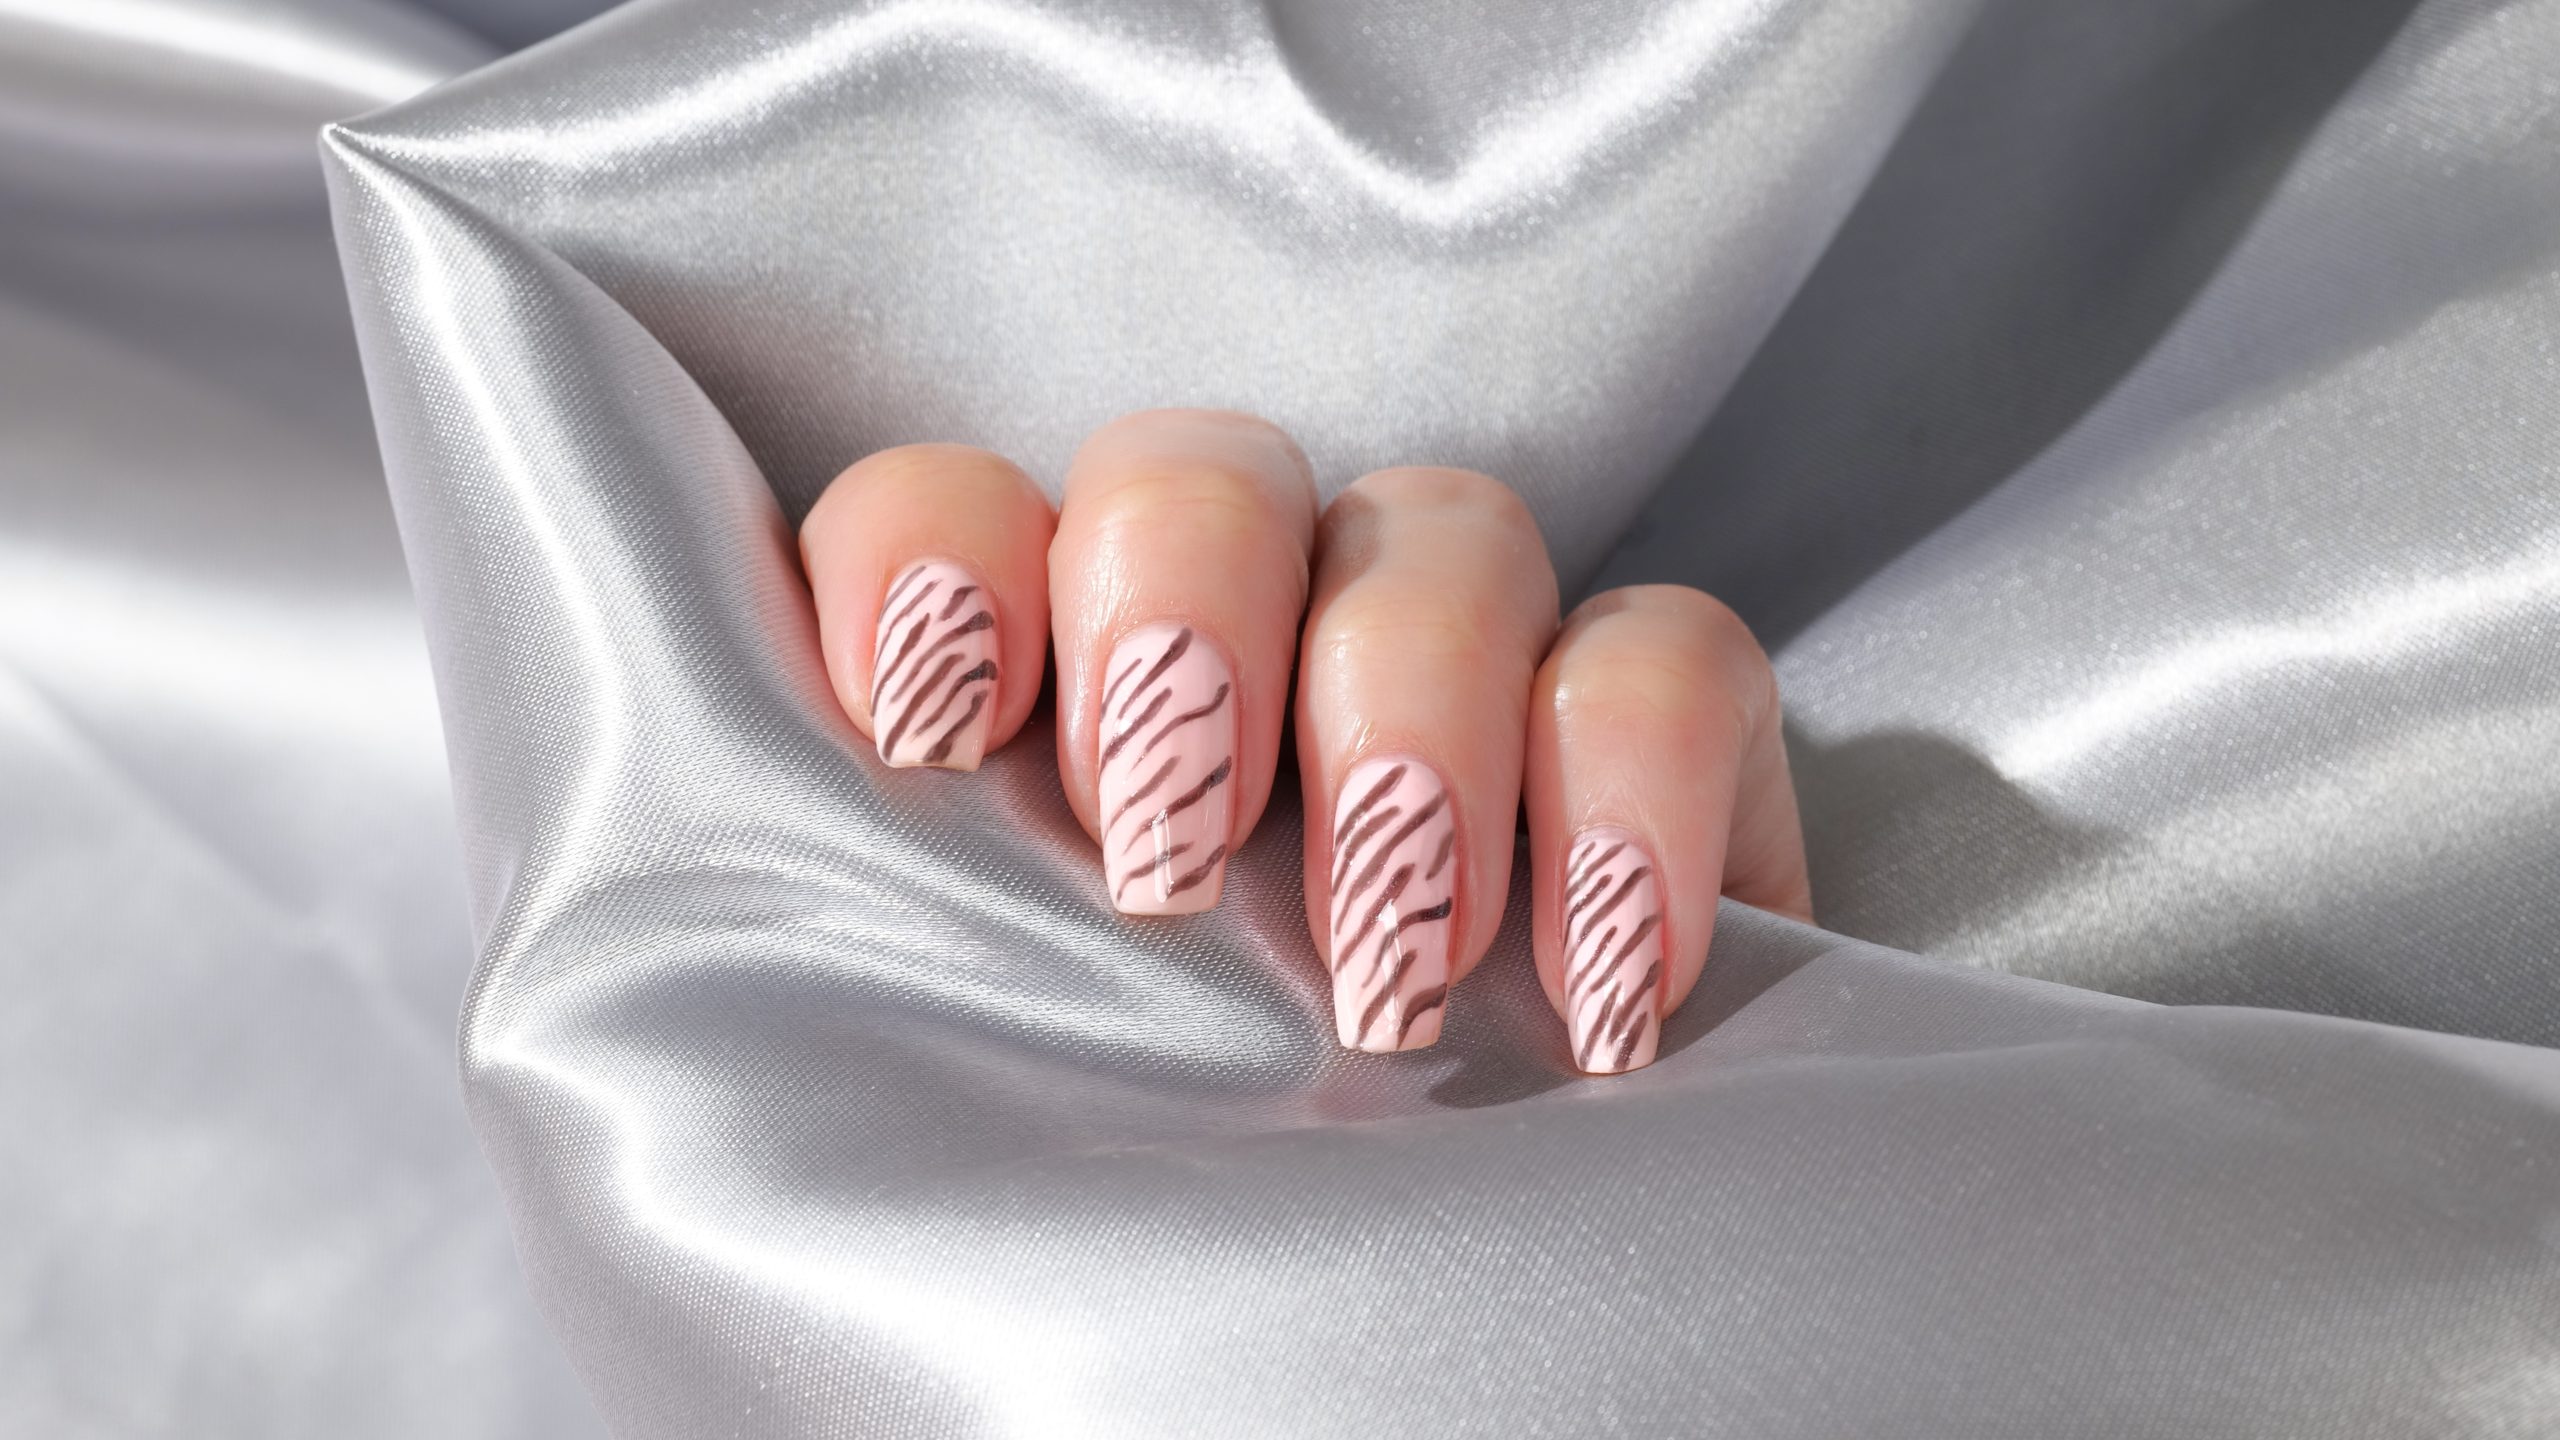
Stripes are hard. Honestly, if you've ever tried to freehand a zebra nail art design only to have it look like a series of sad, shaky barcodes, you aren't alone. It's frustrating. You see these crisp, wild patterns on Instagram and think, "Yeah, I can do that," but then the polish goops up or the lines are too thick and the whole thing just looks messy.
The truth is that animal prints, specifically zebra, rely on a very specific type of visual "chaos" that actually follows strict rules. If the lines are too uniform, it looks fake. If they're too random, it looks like a mistake. Getting it right requires understanding how organic shapes move across a small, curved surface like a fingernail.
The anatomy of a perfect zebra nail art design
Most people make the mistake of drawing straight lines. Real zebras don't have straight lines. Their stripes are tapered. They're thicker in the middle and wispy at the ends. Think of them like long, skinny triangles or stretched-out "Y" shapes.
When you're building a zebra nail art design, you have to start from the outside in. Always. If you start in the middle of the nail, you run out of room and the composition feels crowded. By anchoring your stripes at the sidewalls—those bits of skin flanking your nail—and pulling the brush toward the center, you create a natural flow.
I’ve seen beginners try to use regular nail polish for the art part. Don't. Just don't do it. Regular polish dries too fast on the brush, leading to those annoying little clumps. Professional nail artists like Betina Goldstein or Miss Pop usually opt for highly pigmented gel paint or even acrylic paint (the kind from the craft store, seriously) because it stays fluid longer. This gives you the grace period you need to pull a thin, elegant line without it dragging.
Tools that actually change the game
You can't do this with the brush that comes in the bottle. It’s too chunky. You need a "liner" brush. Specifically, a long-haired liner brush (about 10mm to 12mm) is your best friend here.
Why long hair? Because the length of the bristles acts as a stabilizer. Short brushes pick up every tiny hand tremor. Long brushes smooth them out. It’s basically mechanical traction control for your fingers. If your hand is shaky, rest your pinky finger on your other hand or the table. That "anchor" point is the difference between a jagged line and a professional stroke.
Beyond black and white: Modern variations
Black and white is the classic, sure. But it can also feel a bit "2010" if it isn't executed with a modern twist. The 2026 trend cycle is seeing a massive shift toward "hidden" animal prints.
Imagine a matte nude base with glossy black stripes. It’s subtle. You only see the zebra nail art design when the light hits it at a certain angle. It’s sophisticated, whereas the high-contrast version is loud. Both are valid, but they serve different vibes.
Then there's the "Aura" zebra. This involves a blurred, colorful gradient in the center of the nail—maybe a soft sunset orange or a deep electric blue—with the black zebra stripes layered over the top. It adds depth that a flat white background just can't compete with.
Why your top coat is ruining everything
You spend twenty minutes perfecting those lines, you swipe on a top coat, and—bam. The black streaks across the white. Your heart sinks.
This happens because the solvents in the top coat re-wet the pigment in your stripes. To avoid this, "float" your top coat. This means putting a large bead of clear polish on the brush and gliding it over the nail without the bristles actually touching your art. You’re essentially pushing a wave of clear coat across the surface. Also, if you’re using gel, make sure you flash-cure each nail for 10 seconds as you finish it. This "freezes" the design so it can't smudge while you work on the rest of the hand.
The psychological appeal of animal print
There is a reason we keep coming back to zebra and leopard prints. It’s primal. In the fashion world, animal prints are often treated as a neutral. They go with everything because they contain organic shapes found in nature.
Expert nail tech Marian Newman, who has worked on countless high-fashion editorials, often points out that animal prints are a way to project confidence. A zebra nail art design says you aren't afraid to be noticed. It’s a bit rebellious. Unlike a French manicure, which aims for perfection and "cleanliness," zebra print embraces irregularity.
Common pitfalls and how to dodge them
- Overcrowding: Leave some "negative space." If the stripes are too close together, they merge into a dark blob from a distance.
- Uniformity: If every stripe is the same length, it looks like a prison uniform. Vary them. Some should stop halfway. Some should fork into two.
- Thick Edges: The "tail" of your stripe should be almost invisible. Lift your brush as you finish the stroke to get that needle-thin point.
If you mess up a line, don't wipe the whole nail. Take a clean brush dipped in a tiny bit of rubbing alcohol or acetone and gently "carve" the line back to where it should be. It’s like using an eraser.
Texture and finishes
Experimenting with texture is a pro move. Try a "velvet" zebra look using magnetic cat-eye polish. You apply the magnetic base, use the magnet to get that shimmering 3D effect, cure it, and then paint your zebra stripes over it in a flat matte black. The contrast between the holographic depth and the flat black is incredible.
Or, try 3D "Chrome" stripes. You paint your stripes with a no-wipe top coat or a thick building gel, cure it, and then rub chrome powder over the top. The powder only sticks to the raised stripes, leaving the rest of the nail clean. It results in a molten metal zebra nail art design that looks like it belongs in a museum.
Actionable steps for your next manicure
Ready to try it? Here is exactly how to sequence your next session for the best results:
- Prep is non-negotiable: Clean your cuticles and dehydrate the nail plate with alcohol. If the surface is oily, your stripes will "shrink" or bead up.
- The "V" Technique: Instead of drawing single lines, try drawing a "V" or a "Y" shape occasionally. This breaks up the pattern and makes it look more authentic to an actual zebra hide.
- Directional Flow: Always curve your lines slightly toward the free edge (the tip) of the nail. Straight horizontal lines make your nail beds look wider and shorter. Curved lines elongate the finger.
- Flash Curing: If using gel, cure every 2-3 stripes. It takes five extra minutes but saves you from accidental smudges that ruin the whole hand.
- Invest in Quality Pigment: If your black polish is streaky or translucent after one coat, it’s not meant for nail art. Look for "Art Gels" or "Painting Gels" which are designed to be opaque in a single thin layer.
Stop aiming for symmetry. Zebras aren't symmetrical, and your nails shouldn't be either. The beauty of a zebra nail art design lies in its imperfection. Each nail should be a slightly different iteration of the theme, creating a cohesive but non-identical "set."
Once you master the pressure of the brush—press down for the thick part, lift up for the thin part—you’ll realize this is one of the most forgiving patterns you can do. Grab a practice tip, find a high-res photo of a zebra for reference, and start pulling those lines. You've got this.