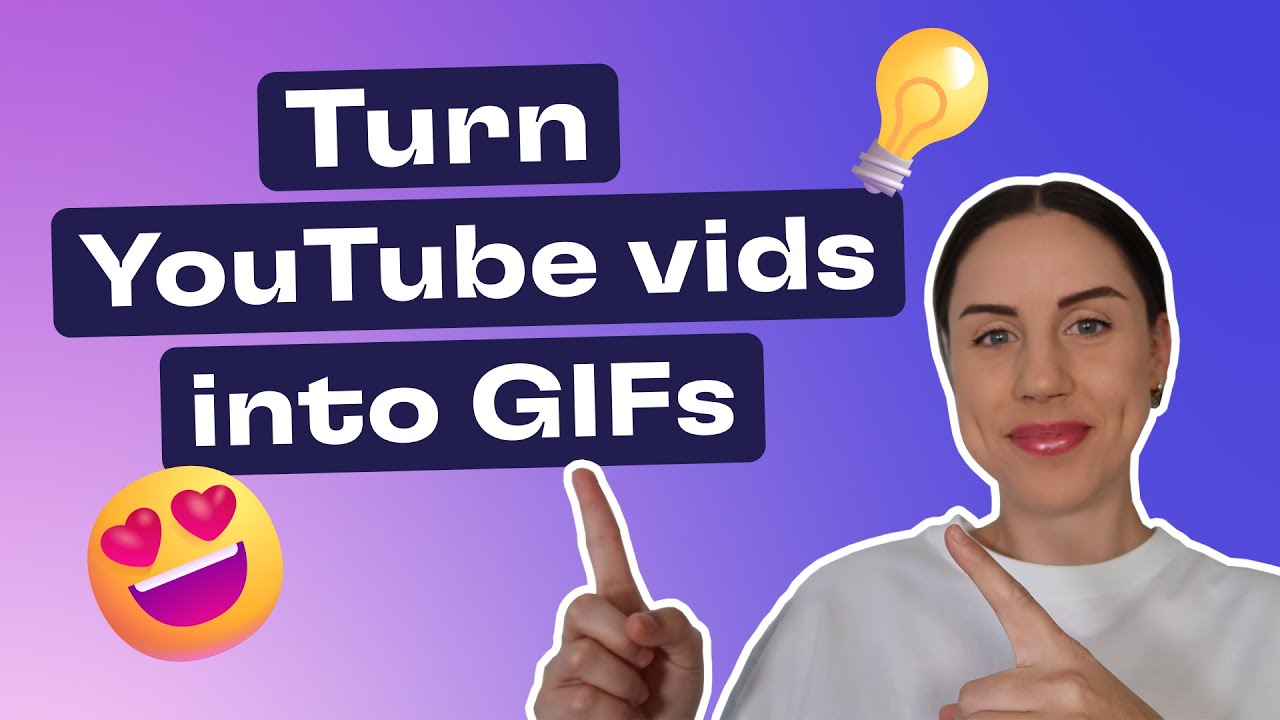
You’ve seen them everywhere. They’re in your Discord DMs, your Twitter (X) threads, and those Slack channels where work goes to die. I’m talking about that perfect three-second loop of a cat falling off a sofa or a confused celebrity looking around a room. If you’ve ever tried to take a YouTube vid to gif, you probably realized pretty quickly that it’s either incredibly easy or a total nightmare. There is no middle ground. Honestly, most people just go to some sketchy website, get bombarded with pop-up ads for "clean your Mac" software, and end up with a grainy, stuttering file that looks like it was filmed on a potato in 2004.
Stop doing that.
The tech behind turning high-definition streaming video into a format designed in 1987 is actually kind of fascinating. GIFs (Graphics Interchange Format) are ancient by internet standards. They don't even support full 24-bit color. Yet, here we are in 2026, and we still haven’t found a better way to express "I’m tired" than a looping clip of a 90s sitcom character.
The Browser Shortcut Nobody Uses
Most people don't know that you can basically trick YouTube into giving you a GIF maker just by editing the URL. It’s a classic power-user move. If you are watching a video at youtube.com/watch?v=example, you can just type the word "gif" right before "youtube" in the address bar so it reads gifyoutube.com/watch?v=example.
This redirects you to a third-party editor (usually GifCap or similar services) that pulls the video data directly. It saves you the hassle of copying and pasting links. You just drag a slider, pick your start time, and you're done. It's fast. It's dirty. It works for 90% of memes. However, the quality is often "good enough" rather than "great." If you're trying to capture high-frame-rate gaming footage from a creator like MrBeast or a complex cinematic shot, these web-based tools usually compress the hell out of the colors. You get "dithering," which is that weird grainy pattern that happens when the software tries to fake a gradient using only 256 colors.
Why Your GIFs Look Like Hot Garbage
GIFs are limited. That’s the reality. While a YouTube video might use H.264 or VP9 encoding to display millions of colors, a GIF is stuck with a tiny palette. When you convert a YouTube vid to gif, the software has to make a choice: which 256 colors are the most important?
If the video has a lot of shadows or subtle blue sky gradients, the conversion usually fails. It looks blotchy. To fix this, high-end creators use something called "ordered dithering" or "error diffusion."
Software like Adobe Photoshop or the command-line tool FFmpeg handles this much better than "https://www.google.com/search?q=Free-Gif-Maker-Online-247.com." If you’re serious about your reaction images, you should be looking at frame rates. YouTube usually runs at 24, 30, or 60 frames per second. If you try to make a GIF at 60fps, the file size will be massive—larger than the original video. Most social platforms will just reject it. The sweet spot is usually 12 to 15 fps. It feels "gif-y" without being a laggy mess.
Better Alternatives for Desktop Users
If you’re on a Mac or PC, stop using websites. GIPHY Capture is a decent, lightweight app that lets you just record a part of your screen. You open the YouTube video, put the GIPHY window over it, and hit record. It’s significantly better for maintaining color accuracy because it isn't trying to "re-render" the source file; it’s just capturing what your monitor sees.
For the true nerds, there is FFmpeg. It’s a command-line tool. It’s scary for people who don't like looking at code. But if you want to convert a YouTube vid to gif with zero quality loss and custom palettes, it is the gold standard.
A typical command might look like this:
ffmpeg -i input.mp4 -vf "fps=15,scale=320:-1:flags=lanczos" output.gif
It looks like gibberish, but that "lanczos" flag is a scaling algorithm that keeps edges sharp. Most web tools use "bilinear" scaling, which makes everything look blurry. Details matter.
Mobile Workarounds: The iOS Shortcut Trick
Mobile is where things get annoying. Google and Apple don't exactly make it easy to rip content off YouTube for copyright reasons. On iPhone, the "Shortcuts" app is your best friend. You can actually build a workflow that takes a screen recording of a YouTube video and instantly converts it to a GIF, trims it, and saves it to your camera roll.
- Record your screen while the video plays.
- Open the "Make GIF" shortcut (built into the gallery).
- Select the video and trim the ends.
- Boom. No third-party apps stealing your data.
Android users have it a bit easier with apps like "GIF Maker-Editor," which allows for direct importing. But honestly, even on mobile, the web tools are catching up. Sites like EzGIF are legendary in the community because they offer "pro" features—like transparency or cross-fading—without requiring a subscription.
The Legality of It All
We have to talk about copyright. Technically, turning a YouTube vid to gif is a derivative work. In the US, this usually falls under "Fair Use" if you’re using it for commentary, parody, or education. If you’re a brand using a clip of a movie to sell shoes? You’re going to get sued. If you’re just making a meme of a streamer's funny face? You’re fine. Just don't try to monetize it.
Platforms like GIPHY have "safe harbor" protections, but they will still take down content if a studio like Warner Bros or Disney sends a DMCA notice. It’s rare for GIFs, but it happens.
The Rise of the WebP and "GIFV"
Here is a secret: most "GIFs" you see on Reddit or Twitter aren't actually GIFs. They are MP4 files or WebP files disguised as GIFs. Imgur started this years ago with "GIFV."
Why?
Because actual GIF files are incredibly inefficient. A 10-second GIF might be 20MB, whereas the same clip as an MP4 is 2MB. When you're looking for a tool to convert your YouTube vid to gif, check if the tool offers a WebP export. WebP supports millions of colors and transparency, and the file size is tiny. Most modern browsers and apps support it now. It’s the future, even if we still call them "gifs" out of habit.
Actionable Steps for Perfect Loops
If you want to start making your own high-quality loops today, stop guessing and follow this workflow.
First, find your source. High-definition (1080p) is better than 4K for GIFs because the downscaling is less messy. If you use a site like EzGIF, always use the "Dropframes" tool if the file size is too big; removing every second frame is often imperceptible but cuts the file size in half instantly.
Second, pay attention to the "loop." A great GIF feels infinite. To achieve this, try to find a starting frame and an ending frame that look similar. If you're capturing a person talking, start and end the clip when their mouth is closed. It prevents that jarring "jump" at the end of the animation.
Third, optimize for the platform.
- Discord: Keep it under 25MB (for Nitro) or 8MB (for free users).
- Twitter: Stick to under 15MB for mobile uploads.
- Slack: Small is better, or it won't autoplay.
Instead of hunting for the "best" converter, find one that doesn't add a watermark. Kapwing is great but often hides features behind a login. ScreenToGif (for Windows) is open-source, completely free, and arguably the most powerful tool ever made for this specific task. It allows you to edit frame-by-frame, delete individual frames where a UI element might have popped up, and add text that doesn't look like a 2005 meme generator.
The world of YouTube vid to gif conversion is deeper than it looks. It's a mix of 80s file limitations and modern viral culture. Whether you're using a quick URL hack or a command-line tool, the goal is always the same: capture that one perfect moment and make it live forever in a loop.