You’re staring at a tangled mess of grosgrain and a pair of dull kitchen scissors, wondering why that creator on your screen made it look so effortless. We've all been there. You search for youtube how to make a bow, click the top result, and suddenly you're three minutes into a video where the person's hands are blocking the camera at the exact moment the "magic" happens. It’s frustrating. Honestly, it’s enough to make you just buy a pre-made stick-on bow from the pharmacy and call it a day. But there is a massive difference between a limp, lopsided loop and a crisp, professional bow that looks like it came off a high-end boutique display.
The truth is that most viral tutorials skip the physics of the knot. They focus on the "aesthetic" of the ribbon rather than the structural integrity of the tension. Whether you are trying to wrap a birthday gift, spruce up a wreath, or create a hair accessory for a toddler who will inevitably rip it out in twenty minutes, the fundamentals don't change. You need the right material, a bit of finger dexterity, and a total rejection of the "bunny ears" method you learned in kindergarten.
The Viral Methods for YouTube How to Make a Bow That Actually Work
If you spend enough time scrolling through craft YouTube, you’ll notice three distinct camps of bow-making. First, there’s the "Hand-Tied" purist. These are the folks who can loop a 2.5-inch wired ribbon around their fingers and produce something symmetrical in thirty seconds. Then you have the "Fork Method" enthusiasts—mostly for tiny, delicate bows—and finally, the "Bowdabra" or jig users who rely on tools to hold the tension for them.
Which one should you choose? It depends on your patience.
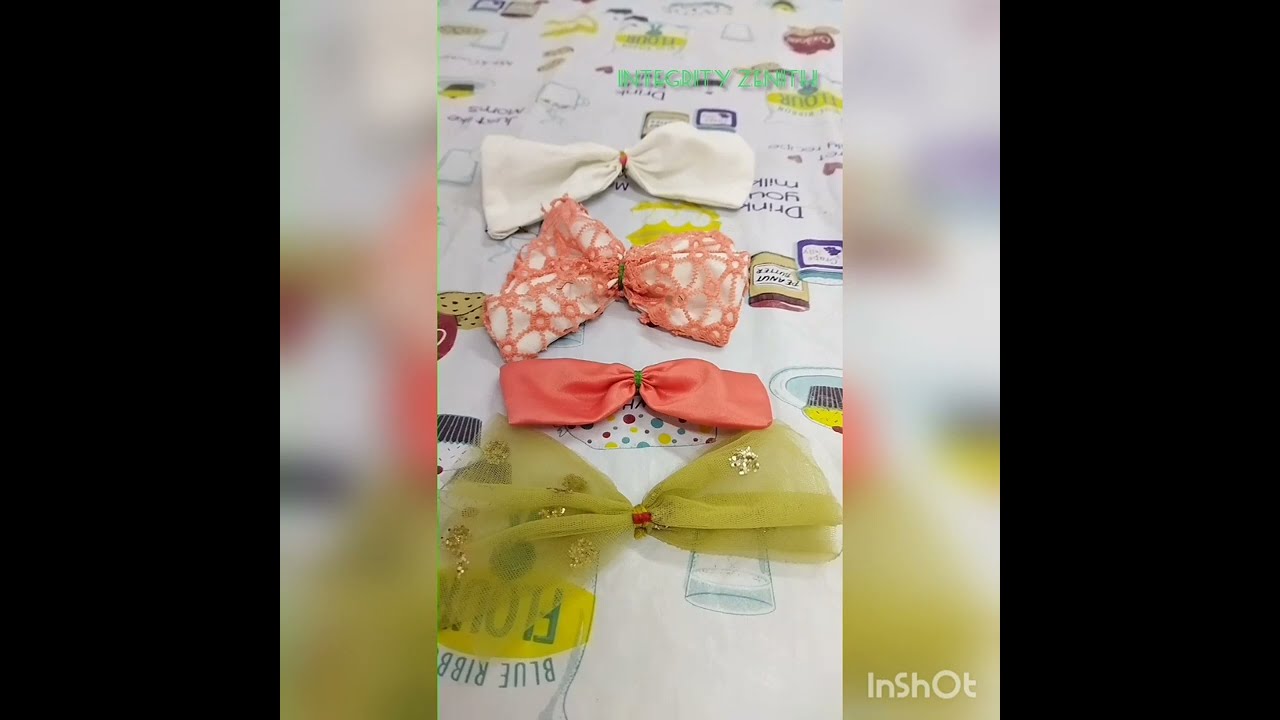
If you are a beginner, the Wired Ribbon Method is your best friend. Why? Because wire is forgiving. If you mess up the fluffing process, you just bend it back. Non-wired satin ribbon is the "expert mode" of the crafting world. It’s slippery, it shows every wrinkle, and if your center knot isn't tight enough, the whole thing will sag like a sad pancake. For a standard gift bow, look for a 1.5-inch width. It’s the "Goldilocks" size—not too bulky, not too fiddly.
The Logic of the "Loop and Sandwich"
Forget everything about tying your shoes. When you are looking for youtube how to make a bow, the most successful technique is often the "stacking" method. Instead of one long continuous string, you create individual loops and pinch them in the center.
Think of it like building a sandwich. You have your bottom tails, your large base loops, and your smaller center loops. You stack them on top of each other and secure the entire pile with a pipe cleaner or a piece of floral wire. This is the secret of those massive, multi-loop bows you see on Christmas trees. They aren't tied; they are wired. By using a wire to cinch the middle, you get a much tighter "waist" on the bow, which makes the loops "pop" outward rather than lying flat against the box.
Why Your Bow Looks "Homemade" (And Not in a Good Way)
Texture matters. A lot.
One of the biggest mistakes people make—and something many tutorials fail to mention—is ignoring the "wrong side" of the ribbon. Most decorative ribbons are one-sided. If you just loop them normally, half of your bow will show the dull, faded underside. To fix this, you have to do the "Twist." Every time you bring the ribbon back to the center to make a new loop, you have to give it a 180-degree twist. This ensures the pretty, shiny, or patterned side is always facing the audience.
It feels awkward at first. Your fingers might cramp. But that twist is what separates the amateurs from the pros.
Then there is the issue of the "Dovetail." If you are cutting your ribbon ends straight across, stop. It looks unfinished. Fold the end of the ribbon in half lengthwise and cut at an upward angle from the folded edge to the outer corner. This creates that perfect V-shape. It’s a tiny detail, but it’s the hallmark of someone who actually knows what they’re doing.
Tools That Actually Help
You don't need a $50 kit. But you do need:
- Fabric Scissors: If you use the same scissors you use to cut open bags of frozen peas, you will fray the ribbon. Get a dedicated pair of sharp shears.
- Floral Wire: 26-gauge is a good middle ground. It’s thin enough to twist easily but strong enough to hold heavy velvet.
- A Lighter: If you are using synthetic ribbon (like grosgrain or satin), lightly singe the cut edges. It melts the fibers and prevents fraying. Don't set it on fire; just a quick pass will do.
The "Four-Loop" hack for Holiday Decorating
When people search for youtube how to make a bow during the holidays, they usually want something big. The "Four-Loop" method is the easiest way to achieve volume without losing your mind.
Start by making a circle with your ribbon, overlapping the ends by about an inch. Pinch it in the middle. Now, take another length of ribbon and make a slightly smaller circle. Pinch that one too. Lay the small one on top of the big one. Wrap a wire around the center of both. Suddenly, you have a four-pointed bow that looks incredibly complex but took about sixty seconds to assemble. You can keep stacking these—six, eight, ten loops—until the bow is the size of a dinner plate.
This is exactly how professional florists at places like 1-800-Flowers or local boutiques handle high-volume orders. They aren't sitting there meticulously tying knots; they are assembly-lining the components.
Handling Different Materials
Velvet is a beast. It’s heavy and likes to slide. If you’re working with velvet, you’ll want to use a slightly thicker wire to secure the center. Burlap is the opposite; it’s stiff and scratchy, but it holds its shape better than almost anything else. If you're going for a rustic look, burlap is very "forgiving" for beginners because it hides imperfections in the fold.
Pro tip: If your ribbon is limp, a little bit of heavy-duty hairspray can actually act as a makeshift stiffener. It's a weird old-school pageant trick, but it works wonders on silk ribbons that refuse to stand up.
Mastering the Tension
The "pinch" is the most important part of the entire process. When you bring your loops together in the center, you need to accordion-fold the ribbon. Don't just bunch it up. If you fold it like a tiny paper fan (usually three folds for a standard 1.5-inch ribbon) before you wire it, the loops will fan out perfectly.
If you just squeeze it, the ribbon will crush, and the loops will look distorted. It’s all about the architecture of that center point. If the center is tight, the loops will be proud.
Most people are too gentle. They're afraid of "hurting" the ribbon. Don't be. Pull that wire or thread as tight as you possibly can. The tighter the center, the more professional the result. This is a recurring theme across the most respected crafting channels, from Maymay Made It to smaller, niche upholstery experts. They all emphasize that "wasp waist" in the middle of the bow.
Practical Steps to Perfect Your Technique
Don't start with your expensive, $20-a-spool silk ribbon. Go to a craft store, find the clearance bin of cheap wired holiday ribbon, and practice there.
- Cut longer than you think. You can always trim a tail, but you can't add length. For a standard bow, start with at least 3 feet of ribbon.
- Master the "Twist." Practice making loops and twisting the center so the "right side" always faces out. Do this ten times until it's muscle memory.
- Invest in a "Third Hand." This can be a literal tool like a Bowdabra, or just a heavy binder clip. Use it to hold your loops in place while you cut your wire.
- Fluff from the back to the front. Once the bow is wired, don't just pull at the loops. Reach inside the loops and pull them apart and upward. If it's wired ribbon, give them a slight "C" curve with your thumb.
- Secure it properly. If the bow is going on a gift, use a separate piece of ribbon to tie it to the box. Don't use the wire you used to build the bow, or you might accidentally pull the whole thing apart.
The real secret to any youtube how to make a bow success story isn't the ribbon itself; it's the preparation. Make sure your workspace is clear. Have your wire pre-cut. Have your scissors within reach. If you have to let go of the ribbon to find your scissors, you've already lost the tension, and you'll have to start over.
Once you get the hang of the "pinch and twist," you'll start seeing bows everywhere. You'll realize that the $15 bows at the department store are just $1.50 worth of ribbon and a bit of floral wire. It’s one of those skills that feels like a superpower once it clicks. You stop being a consumer of decor and start being a creator of it.
The next time you’re watching a tutorial and it feels like the creator is moving too fast, just remember: it's not magic, it's just tension and a well-placed twist. Keep your wire tight, your scissors sharp, and don't be afraid to manhandle the fabric until it does what you want.
Next Steps for Mastery:
- Identify your ribbon type: Check if it is "single-face" (one shiny side) or "double-face" (both sides identical). If it's single-face, you must use the "twist" method.
- Prepare your hardware: Cut three pieces of 6-inch floral wire before you even touch the ribbon.
- Test the "Dovetail": Practice your V-cuts on a scrap piece to ensure your scissors are sharp enough to slice through the wire edge without snagging the fabric.